I have had the pleasure over many years of printing exhibition images for photographers and none more challenging than an honours portfolio. Needless to say there is always a huge emotional investment when showing your work and especially if it’s to be scrutinised at close quarters by a judging committee. Here are a few steps that I hope will help you visualise your images before you go to the expense of printing and mounting the final photographs. For this exercise you will need access to Adobe Photoshop and your final selection of honours images.
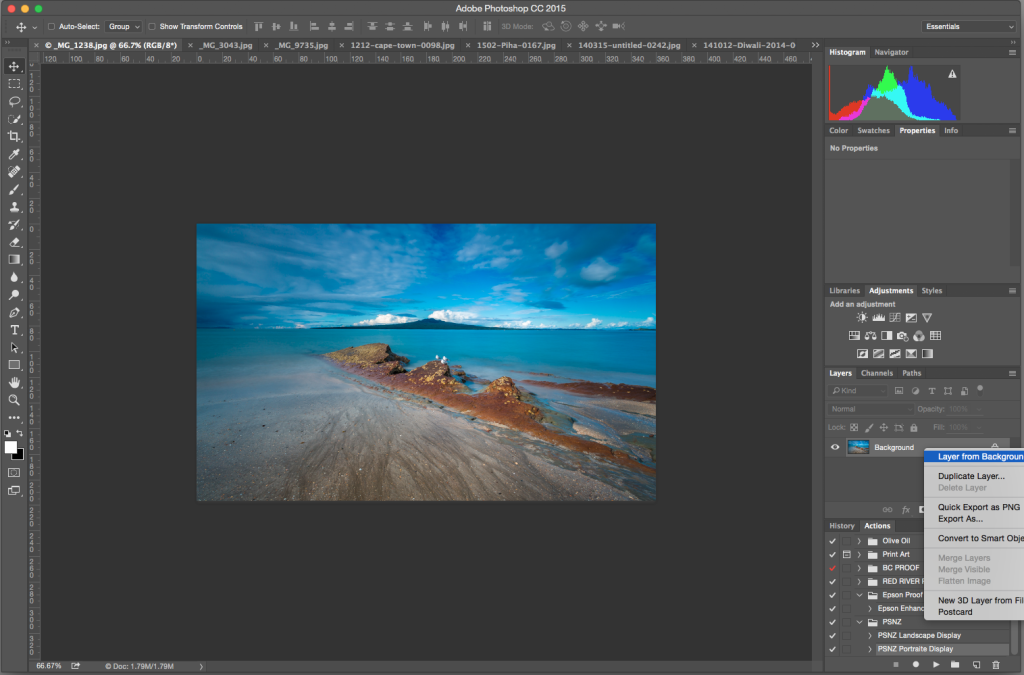
- Open your images in Phoptoshop.
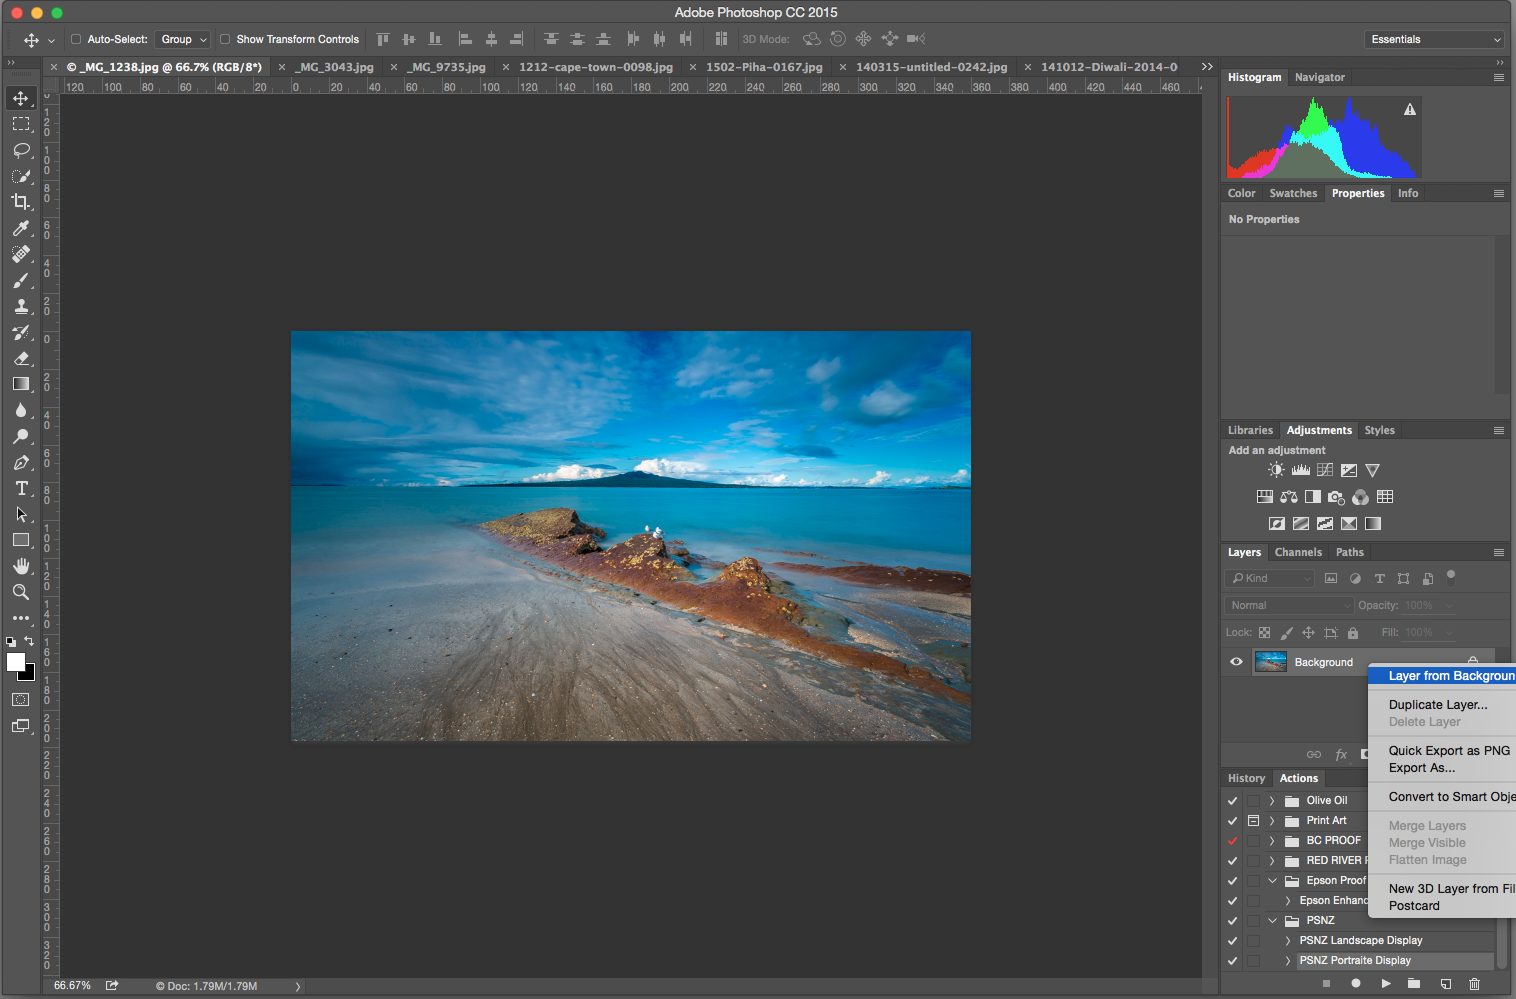
- Set the background as a layer (right click the background and selecting “layer from background” or Layer/New/Layer from background).
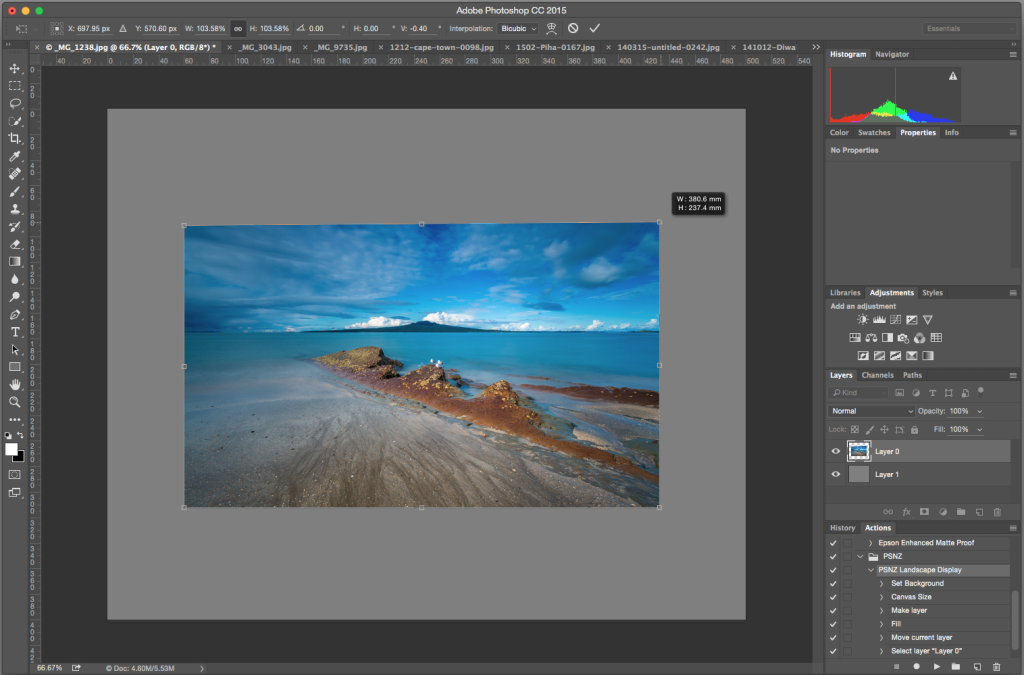
- Set the canvas size to 50×40 cm for landscape or 40x50cm portrait.
- Create a new layer, drag it bellow the image layer and set the fill colour to 50% gray. This will represent your presentation matte.
- Select transform (Cmd + T) and hold down the Shift + Alt keys and resize the image layer until you are happy with the proportion of the borders. Hint – an info box on the top right corner will display the size.
- Save you image as a .psd file in a new folder titled “Display” to preserve the layers for possible future editing (and so you don’t over write your hi-res file). Leave all the files open for dragging into the display.
- Do the same for the rest of your honours portfolio. Hint – create an action to do the basic setup.
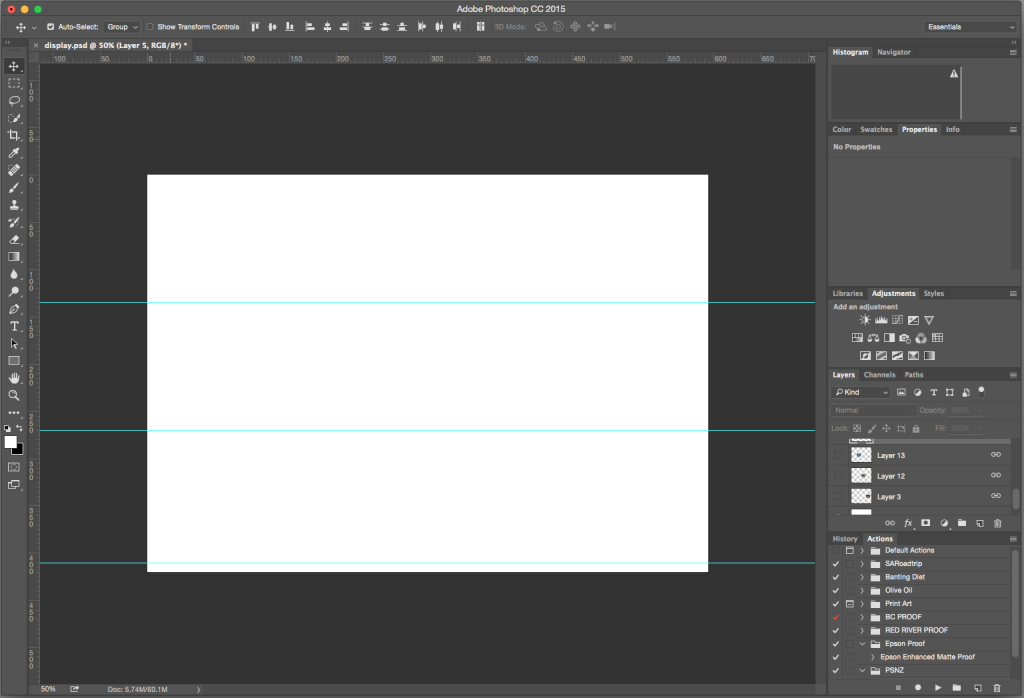
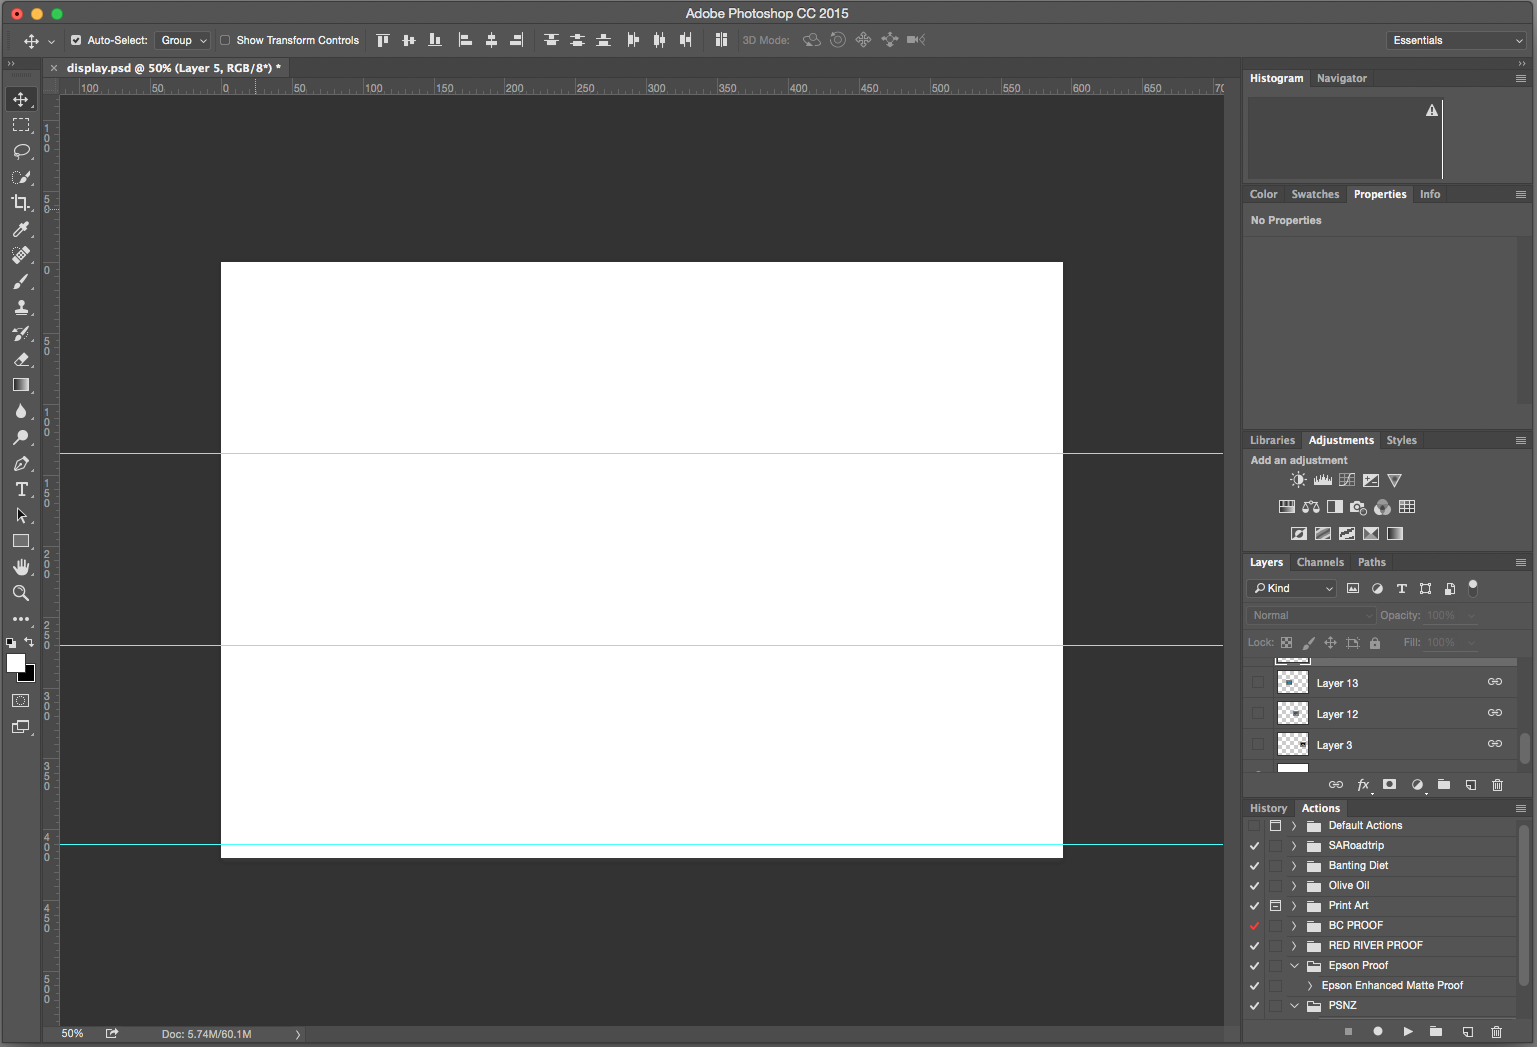
- Create a new blank file with dimensions 594mm x 420mm and fill the background with white and save as “display layout.psd”. Set some equally spaced horizontal guides according to how you want your portfolio to be displayed (in my case three rows).
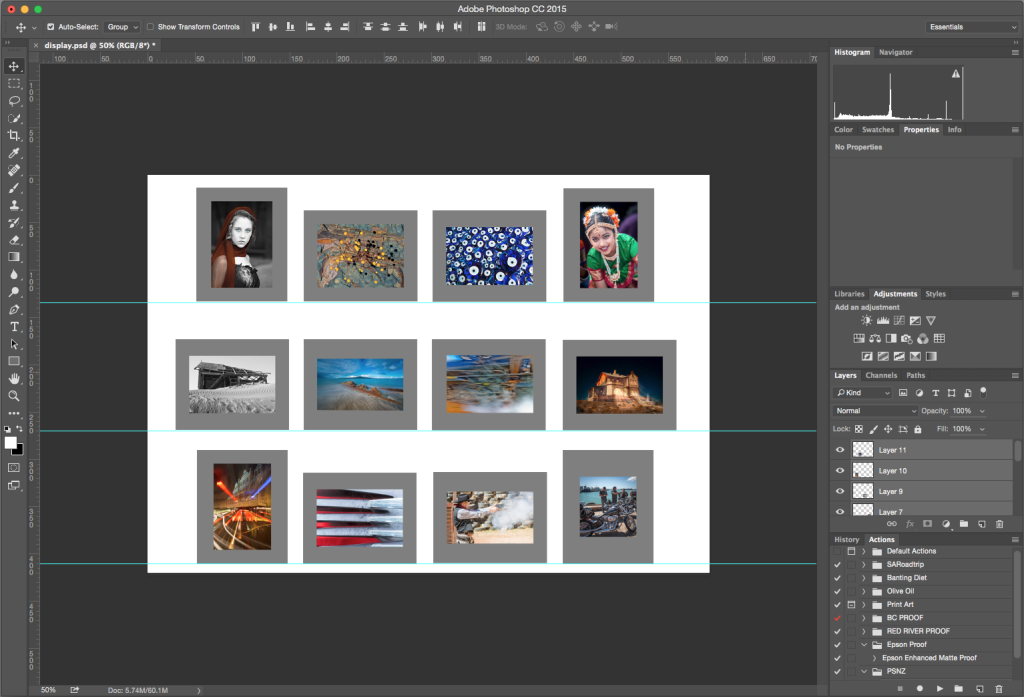
- Go back to each image tab and flatten the layers. Then drag this to the master display image.
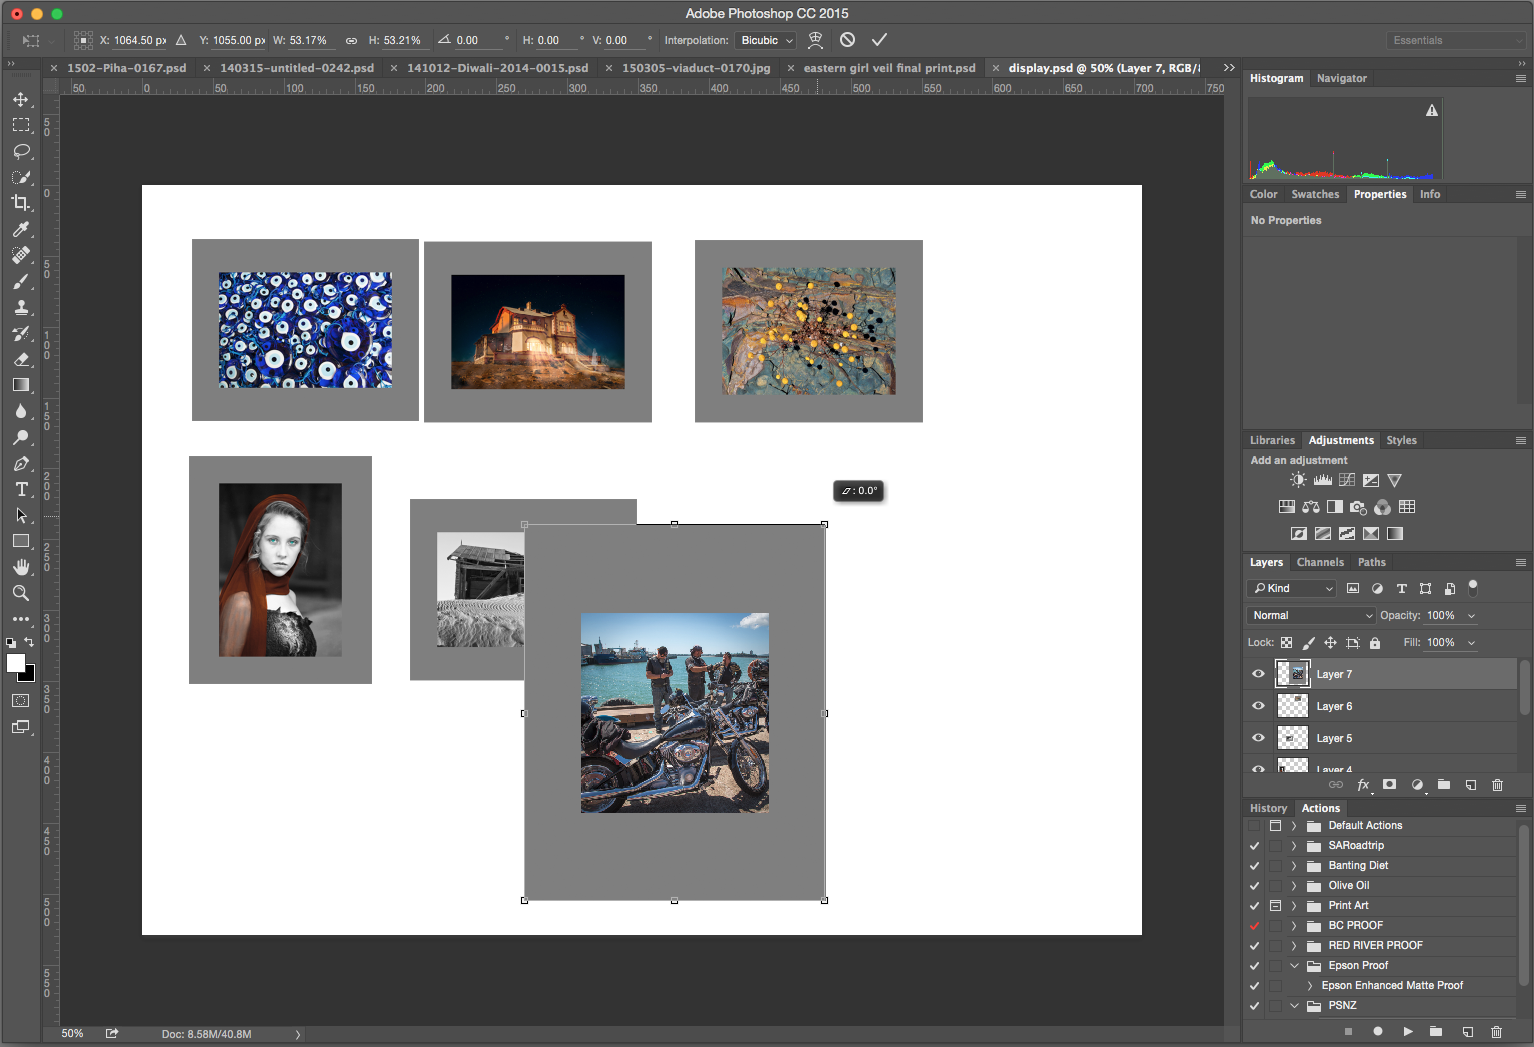
- Resize each image (cmd + T) so that the long ends are all the same(in the example I’ve used 120mm).

- Now move the images around your display layout until you are happy with the results. You may need to go back the saved .psd file and resize the image/border ratio to get the balance right.
- Save the final layout file, as you will need to print out a hard copy to accompany your submission.


Lastly let me say that this is by no means a guide as to what images you should display and in what order. It is merely a guide on how to visualise the final presentation and to get the landscape and portrait images into a visually appealing dimensions.